August 30, 2020

A step-by-step guide to migrating your Wix blog!
Popular thinking in the photography web space these days says you can’t import a Wix Blog to Showit. In fact, Showit officially will not import your Wix Blog for you. But transferring your Wix Blog to the Showit platform is actually SIMPLE. In this blog post, I’m going to show you 5 Simple Steps to Import Your Wix Blog to Showit!
I recently switched from Wix to Showit… and I was SUPER hesitant about it. I actually LOVE the Wix platform, but some of my future needs surrounding the launch of our Flash Course seemed to point to Showit being the better platform for the road ahead. One of my biggest concerns was importing my Wix blog. Because Wix doesn’t run on WordPress, Showit does not offer to migrate your Wix blog for you. Considering I had over 150 blog posts, I was NOT about that!!!
Thankfully, as I searched for solutions for my blog transfer, I found out some exciting news: it CAN be done. I thought for sure my best case would be importing just the WORDS on my blog, but this solution let me import EVERYTHING – Words, Images, Tags… ALL of it! The entire process took less than an hour, and cost me about 65 cents per blog post transfer!!! That’s a STEAL of deal since I didn’t want to waste hours trying to transfer my blog myself!!!
Here’s my Wix to Showit Blog Import Walkthrough, in 5 Simple Steps:
Step 1: Run a Test Migration on CMS2CMS.com
CMS2CMS is the service that allows you to migrate your Wix blog to Showit. It’s a killer Plugin for WordPress, and after seeing it in action, it’s also my favorite WordPress plugin! On the main page, you’ll have the opportunity to select the service you’re transferring your blog from and to (in our case, Wix to WordPress).
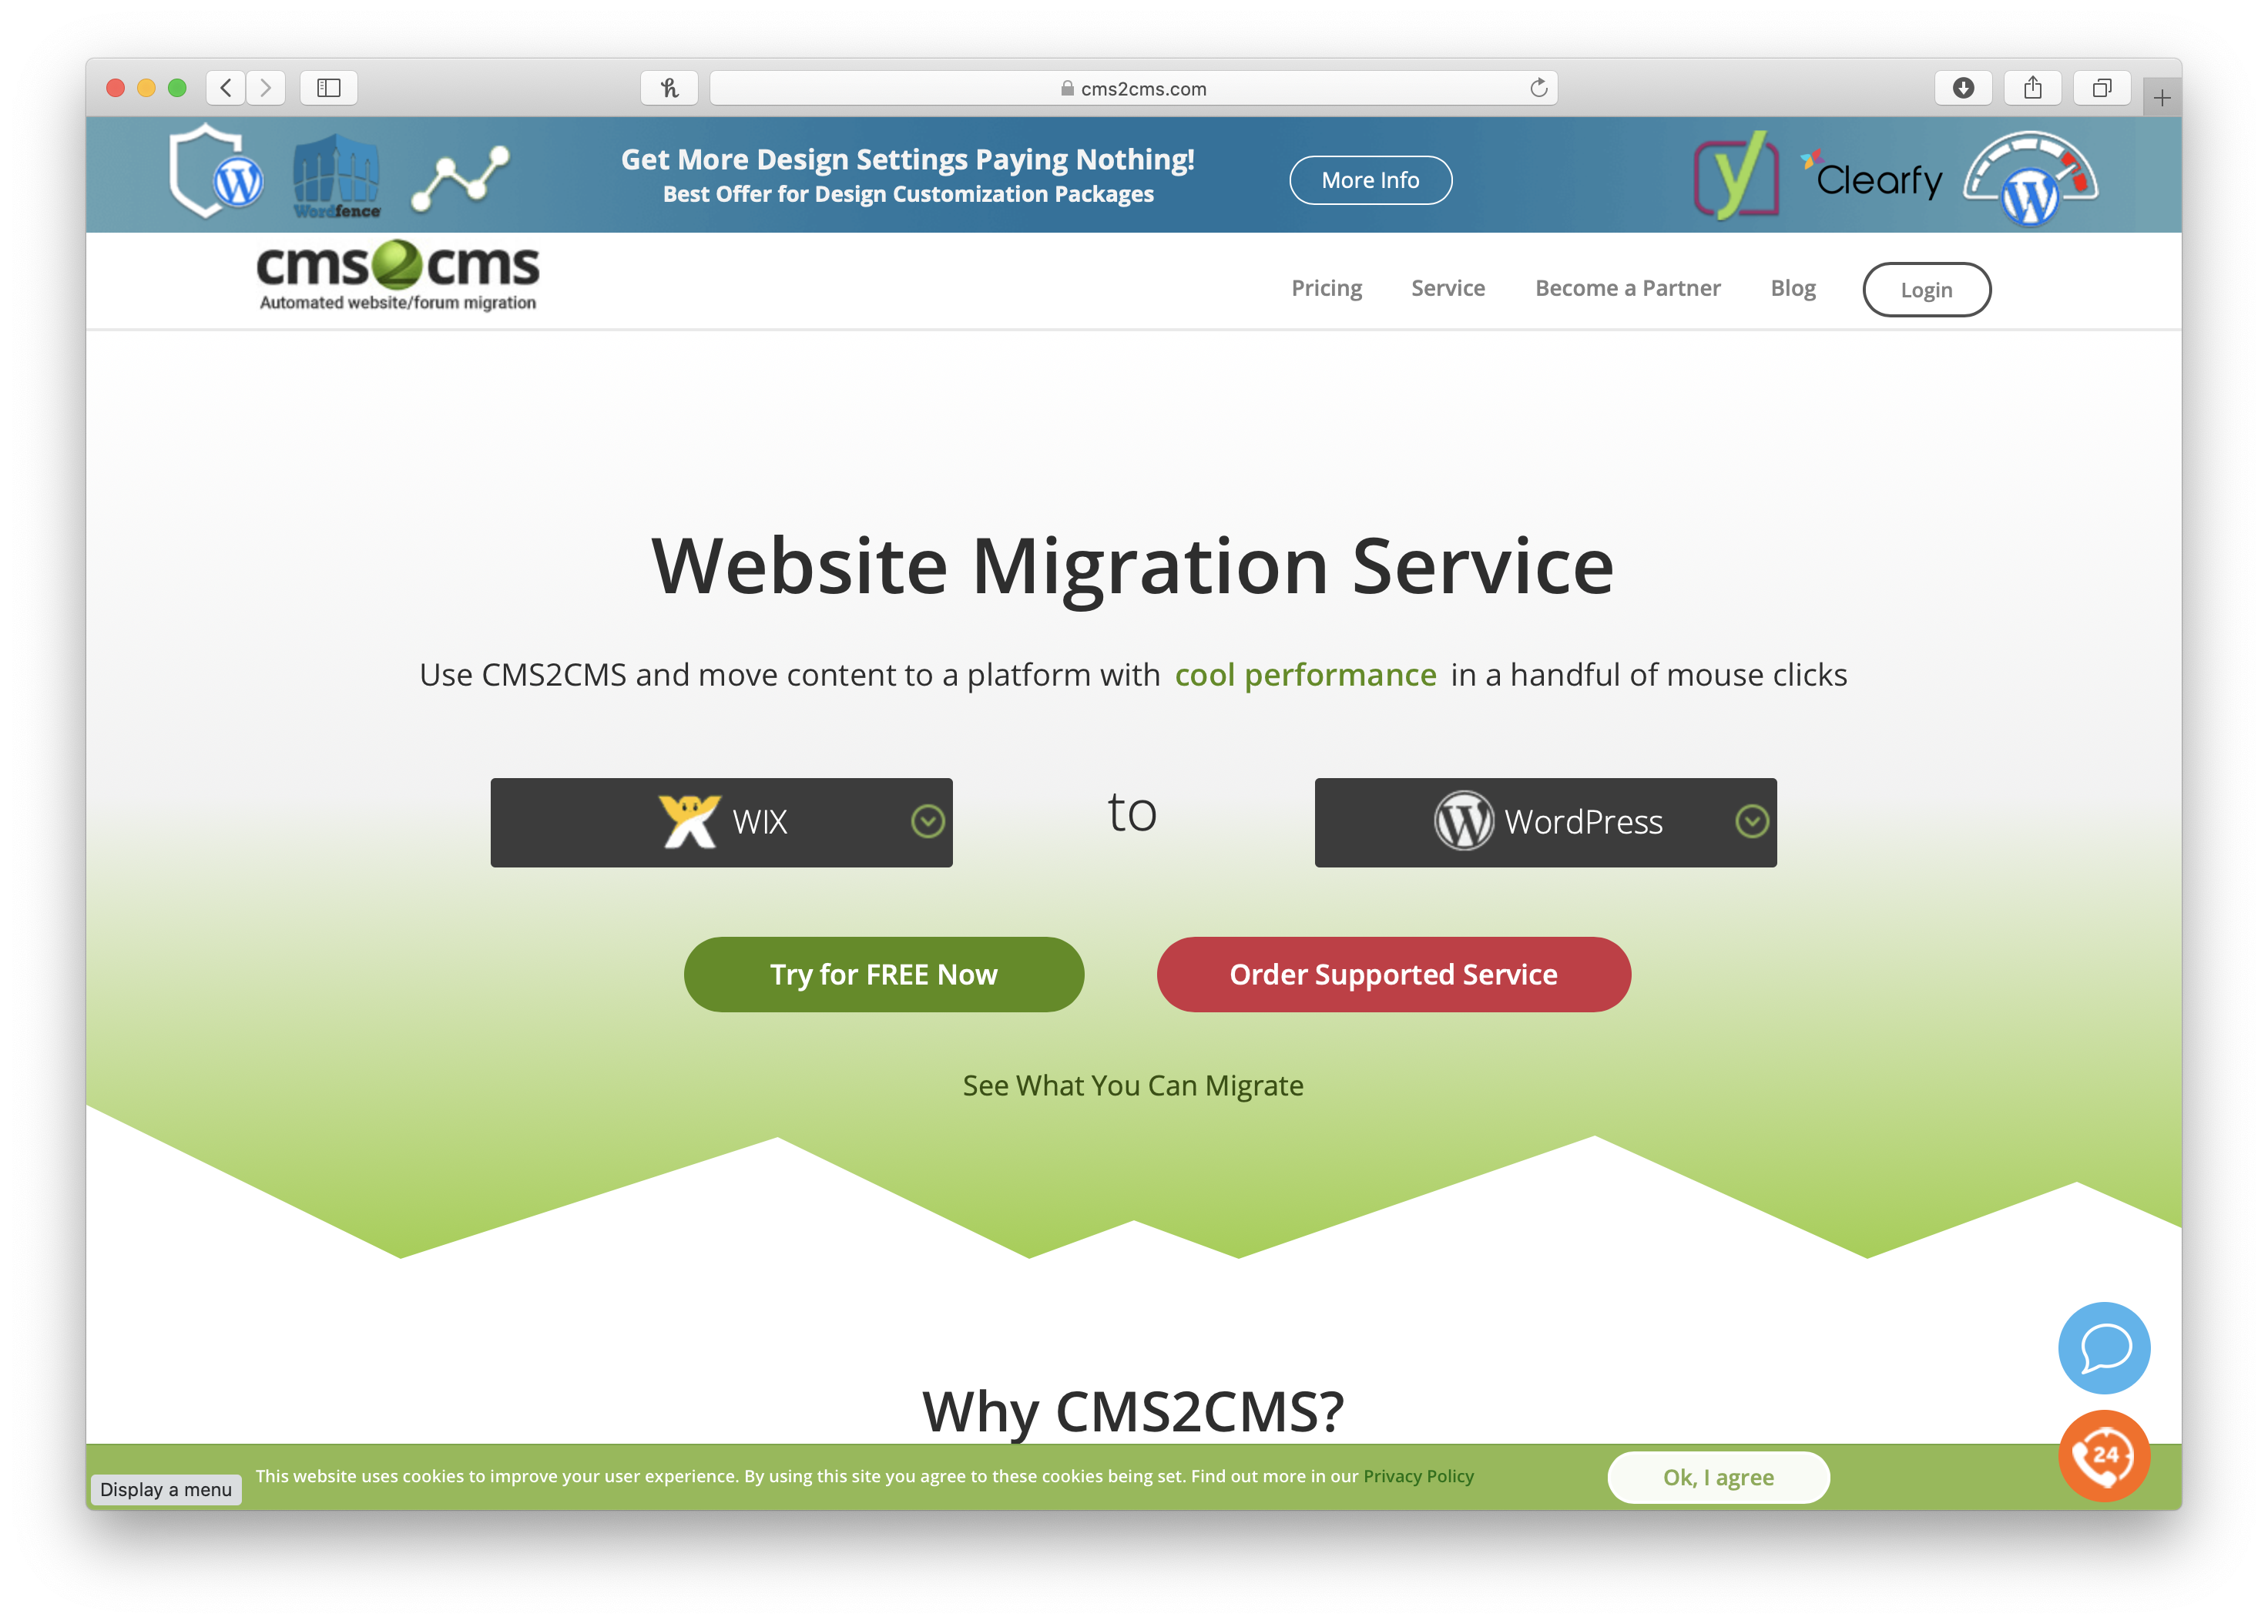
Once you’ve chosen Wix to WordPress, you’ll click “Try for FREE Now”. This is where you’ll put in the website where your old blog is hosted, and allow CMS2CMS to Verify the Connection. You’ll even be able to try a test run of your conversion, telling the service which pieces of the blog you want to migrate over (in my case, we just copied text and images, because my SEO Expert, Karen, has some work to do on all the messy permalinks Wix created for my blog posts over the past few years. Oops!).
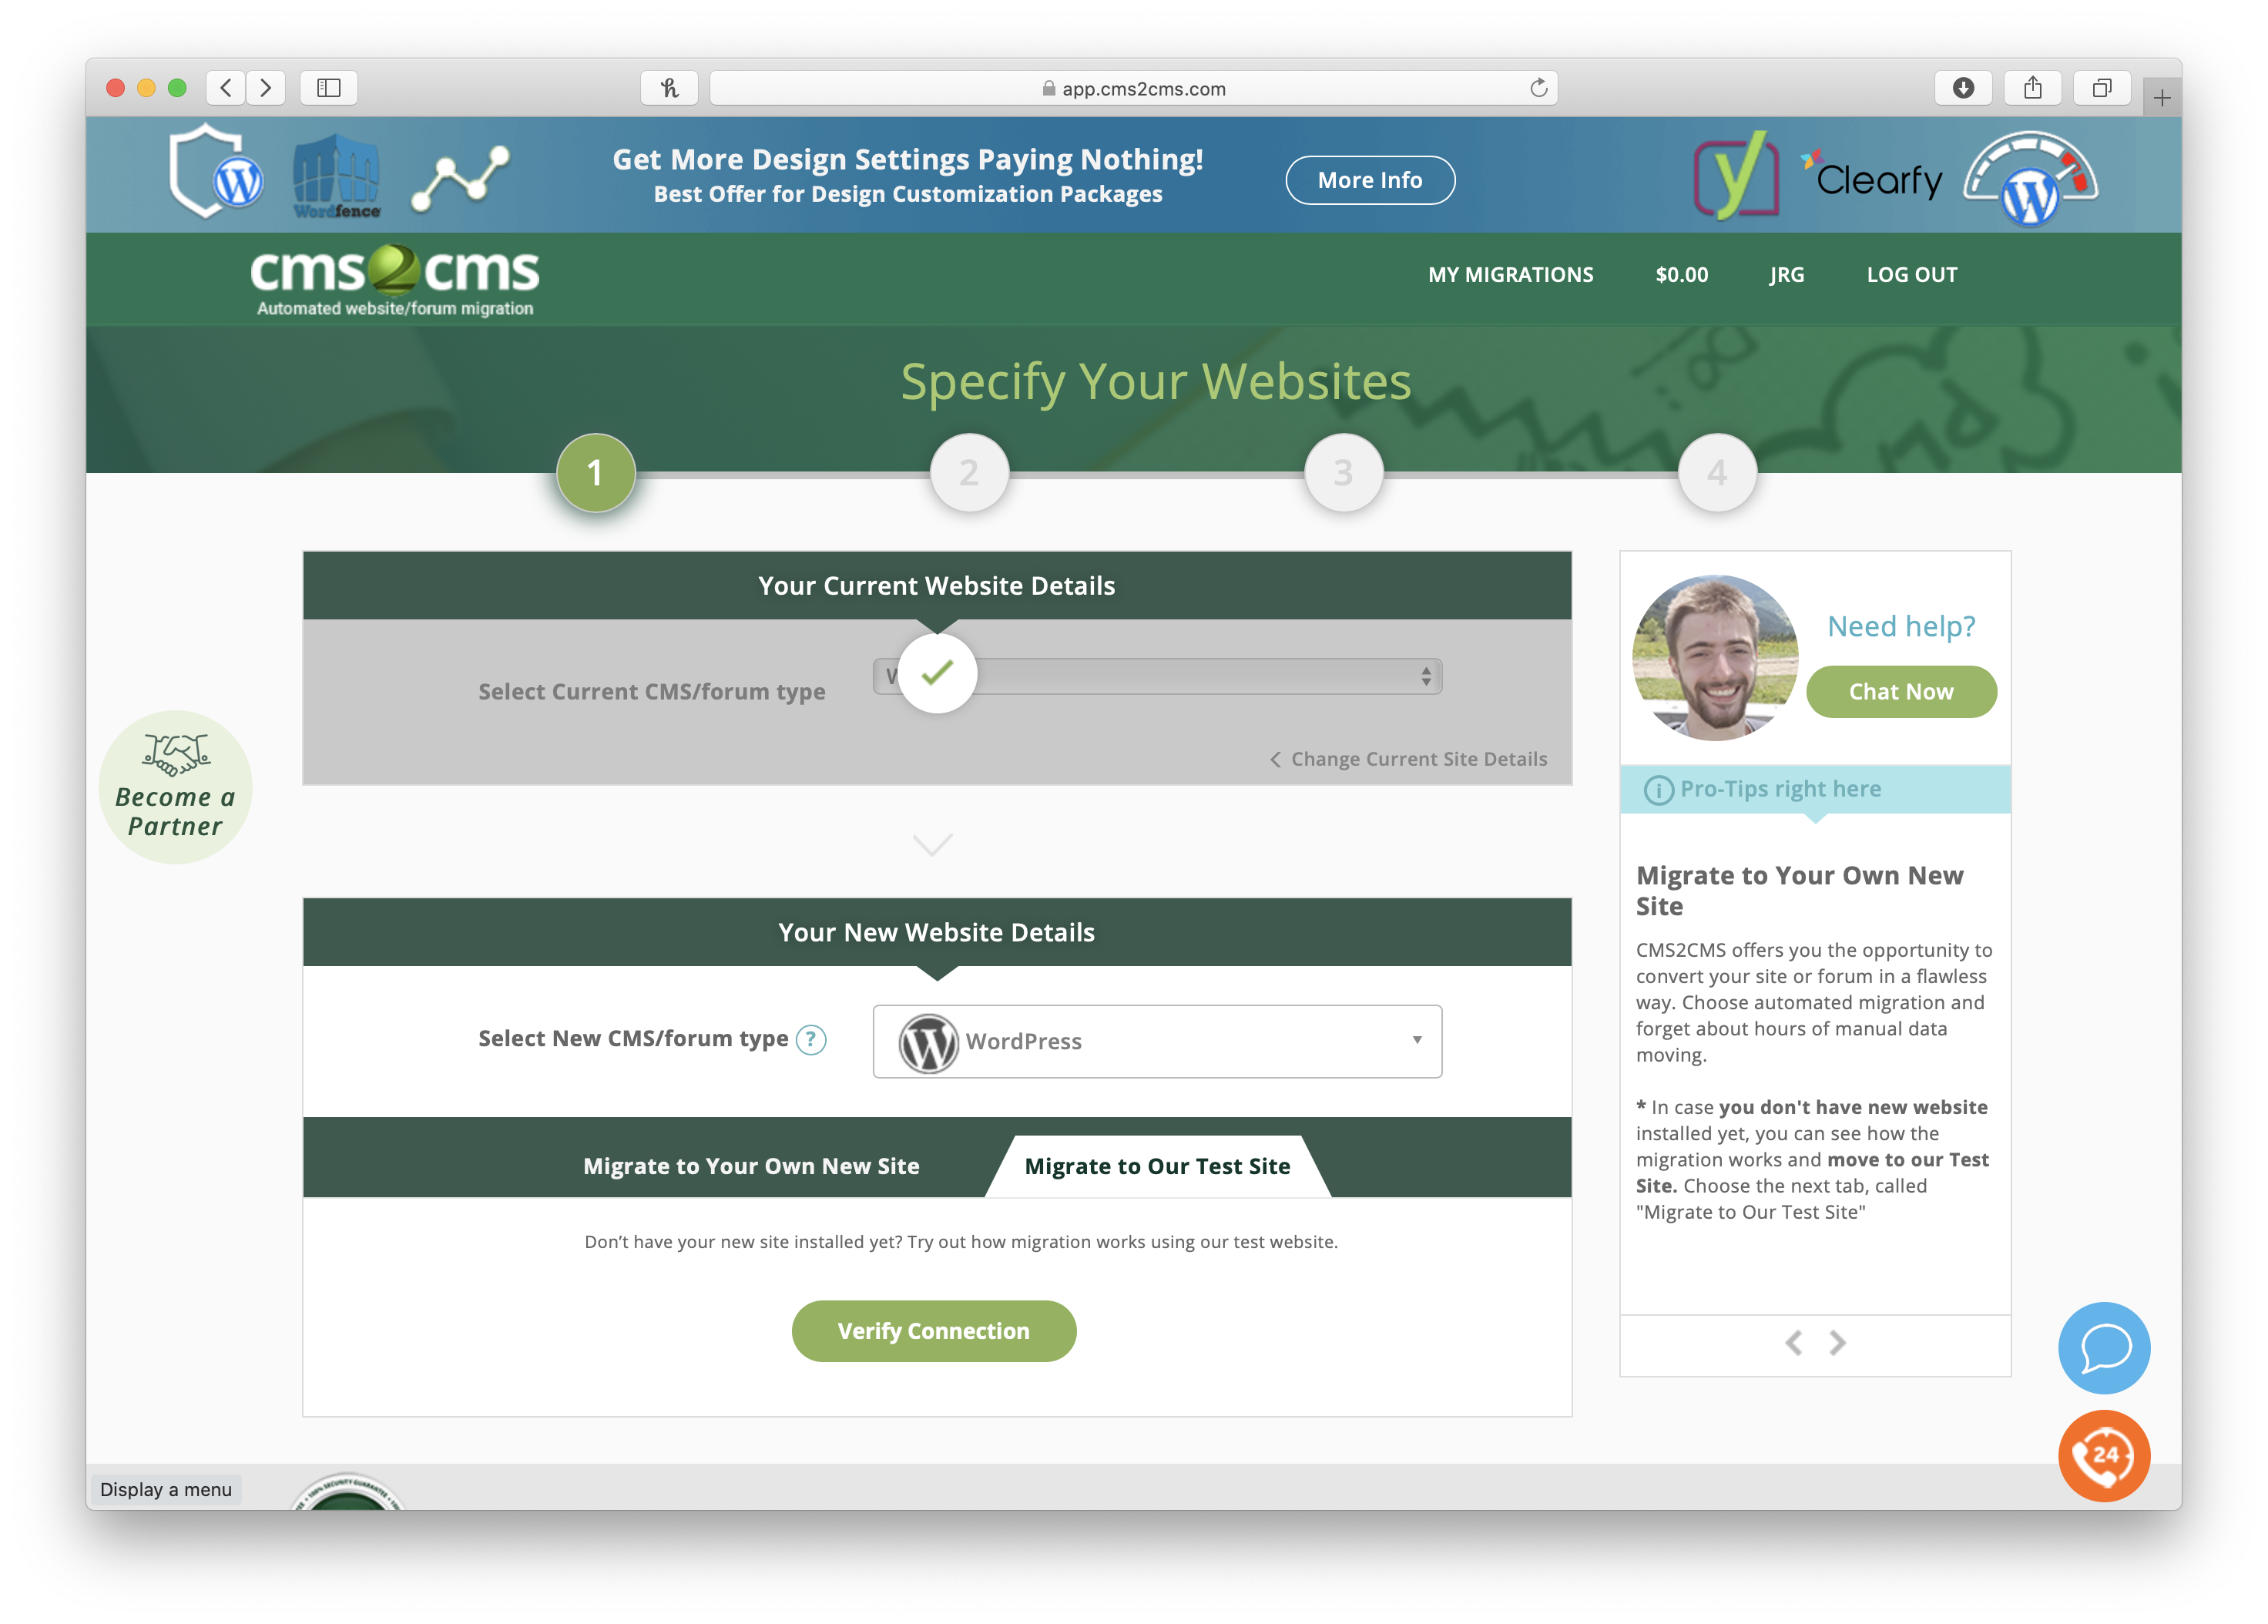
After the test migration is completed, you’ll have the opportunity to preview your test site, using a test login the CMS2CMS plugin provides you. It is extremely important to view your test site, because I learned a valuable lesson that would have cost me a lot of time and money otherwise. I’ll tell you about it in Step 4!
Step 2: Install/Activate the CMS2CMS Plugin
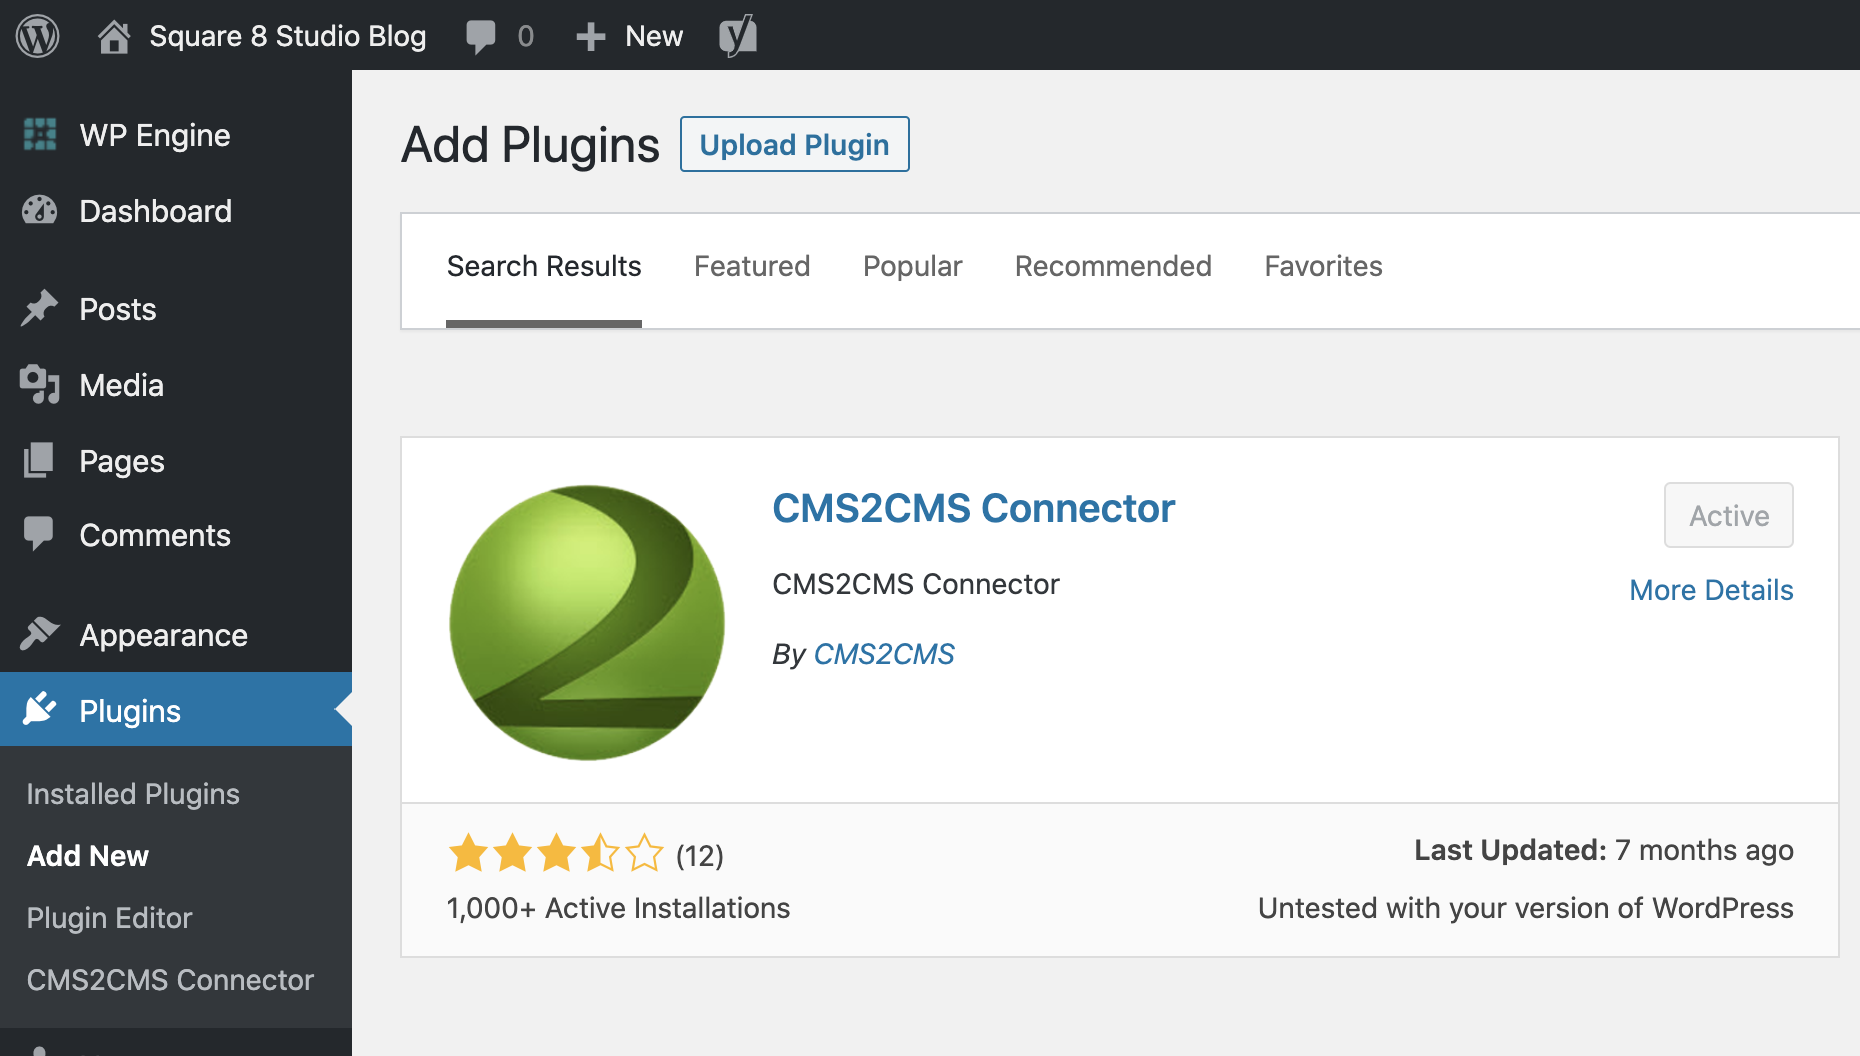
Now that you’ve checked tested out your migration, it’s time to Install the CMS2CMS Plugin on your Showit Blog. Using CMS2CMS Plugin with Showit is the perfect pairing for Wix Users! Here’s what it looks like:
Step 3: Log In to CMS2CMS via your WordPress Blog
After you activate the CMS2CMS plugin on your site, click on it in your side bar. Next, log in to your CMS2CMS account in WordPress. Note: the CMS2CMS login only works with Mozilla Firefox. If you don’t already have the Firefox web browser, you can download it here (guess that’s a 6th step. Oops!). For all other browsers, once you log in to CMS2CMS, it logs you right back out!
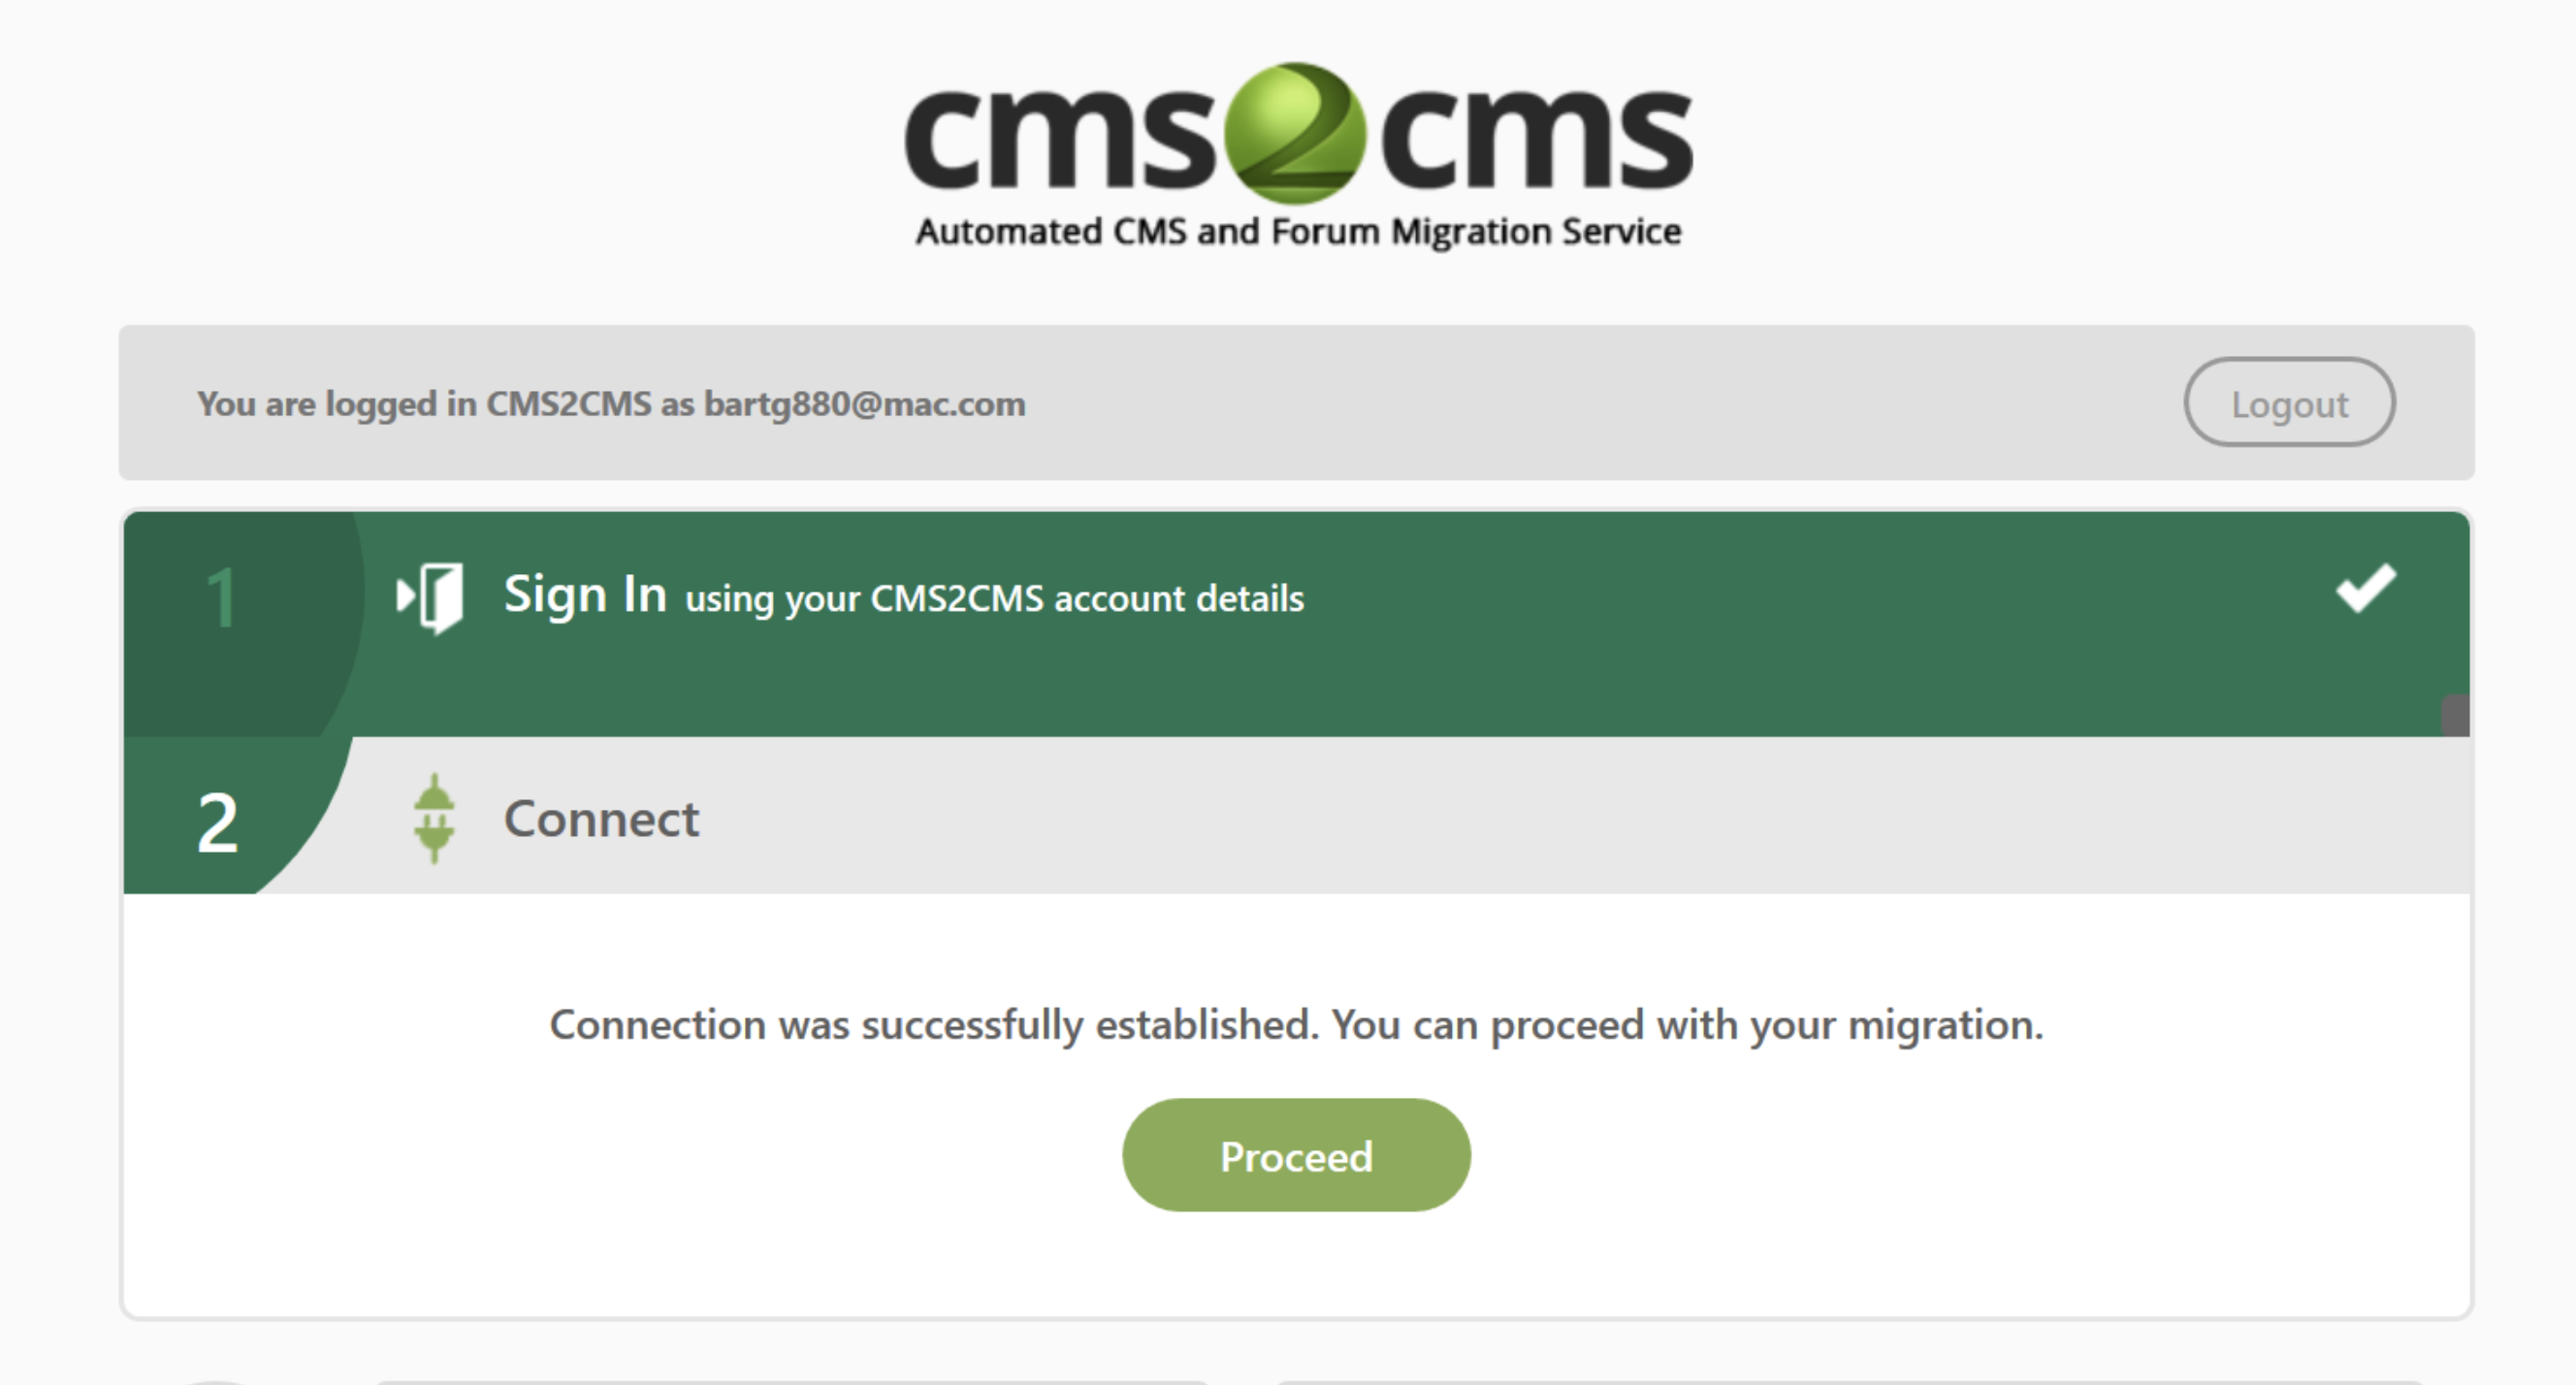
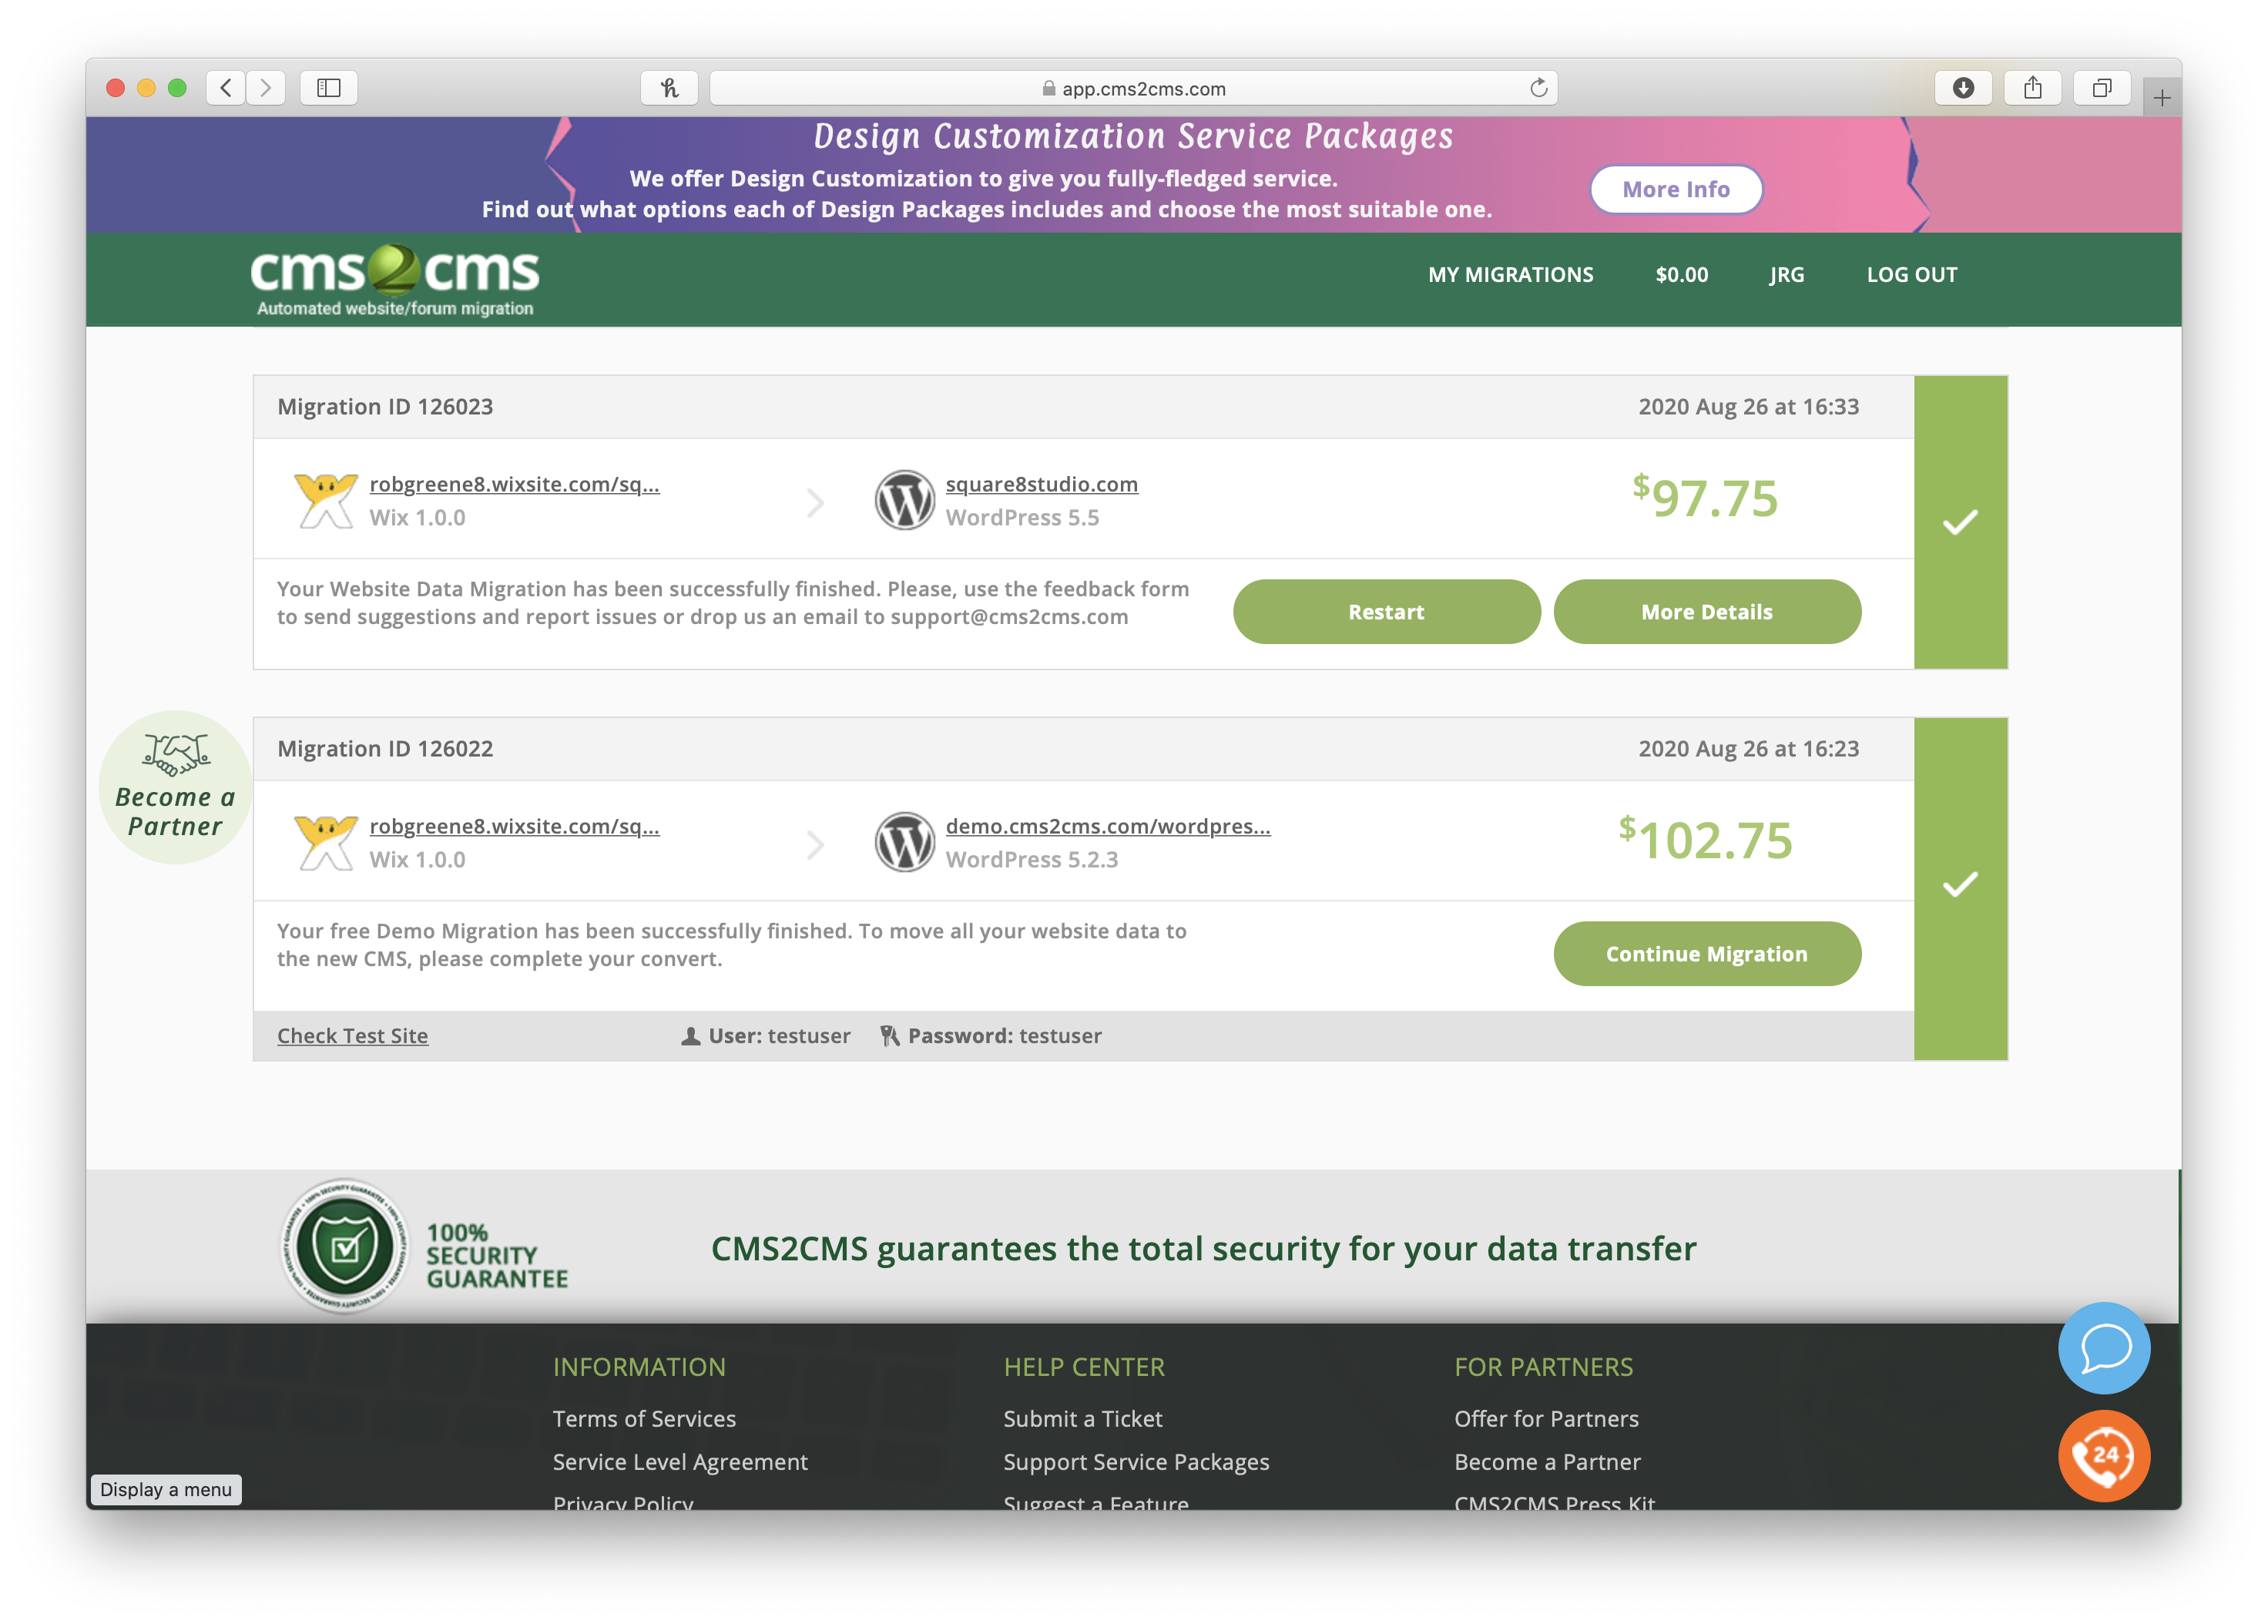
When you get in to your CMS2CMS account through WordPress, it will take you back over to your migration, along with an estimate of the cost to convert your site. You can see where my cost was under $100… for 166 blog posts! You only get 3 attempts to migrate your blog (you can save up to 15% if you want to roll the dice and go with less attempts – they call it “CMS2CMS Migration Insurance”), so be sure to (1) have a solid internet connection, and (2) run another test run of the migration to YOUR site before starting the official migration! The CMS2CMS test site uses WordPress 5.2.3, and my Showit blog was set up on WordPress 5.5, so it gave me a lot of peace of mind to know they could show me a working transfer to my site!
Step 4: Prep Your Wix Blog and Showit Blog for Transfer
As I mentioned in Step 2, my test migration revealed something curious: some of my blog posts transferred both words and images, while others transffered just words. Thankfully, I remembered that on each of the posts where images successfully transferred, I had used the “Add an Image” feature on my Wix blog. But, on the posts where images did NOT transfer, I had used the “Add aGallery” feature to display the images. This adds some fancy web code (“Javascript” for the nerds out there!) that prevents CMS2CMS from transferring the images.

The fix? Go back in to your blog. Delete the gallery, and re-add the images as single images this time. Wix blog now lets you import multiple images at once this way, so the whole process is MUCH faster than downloading them and re-uploading to your new blog! I had 50+ blogs to replace images on, and spent less than half an hour doing it!
On the Showit side, you’ll need to ask a Showit Team Member to Whitelist CMS2CMS IPs. Thankfully, the CMS2CMS team has created an article you can send to the Showit team to make it super simple. Here’s the link to send your Showit Rep: https://cms2cms.com/faqs/how-to-add-cms2cms-ips-to-the-white-list/
Step 5: Start Your Blog Migration!
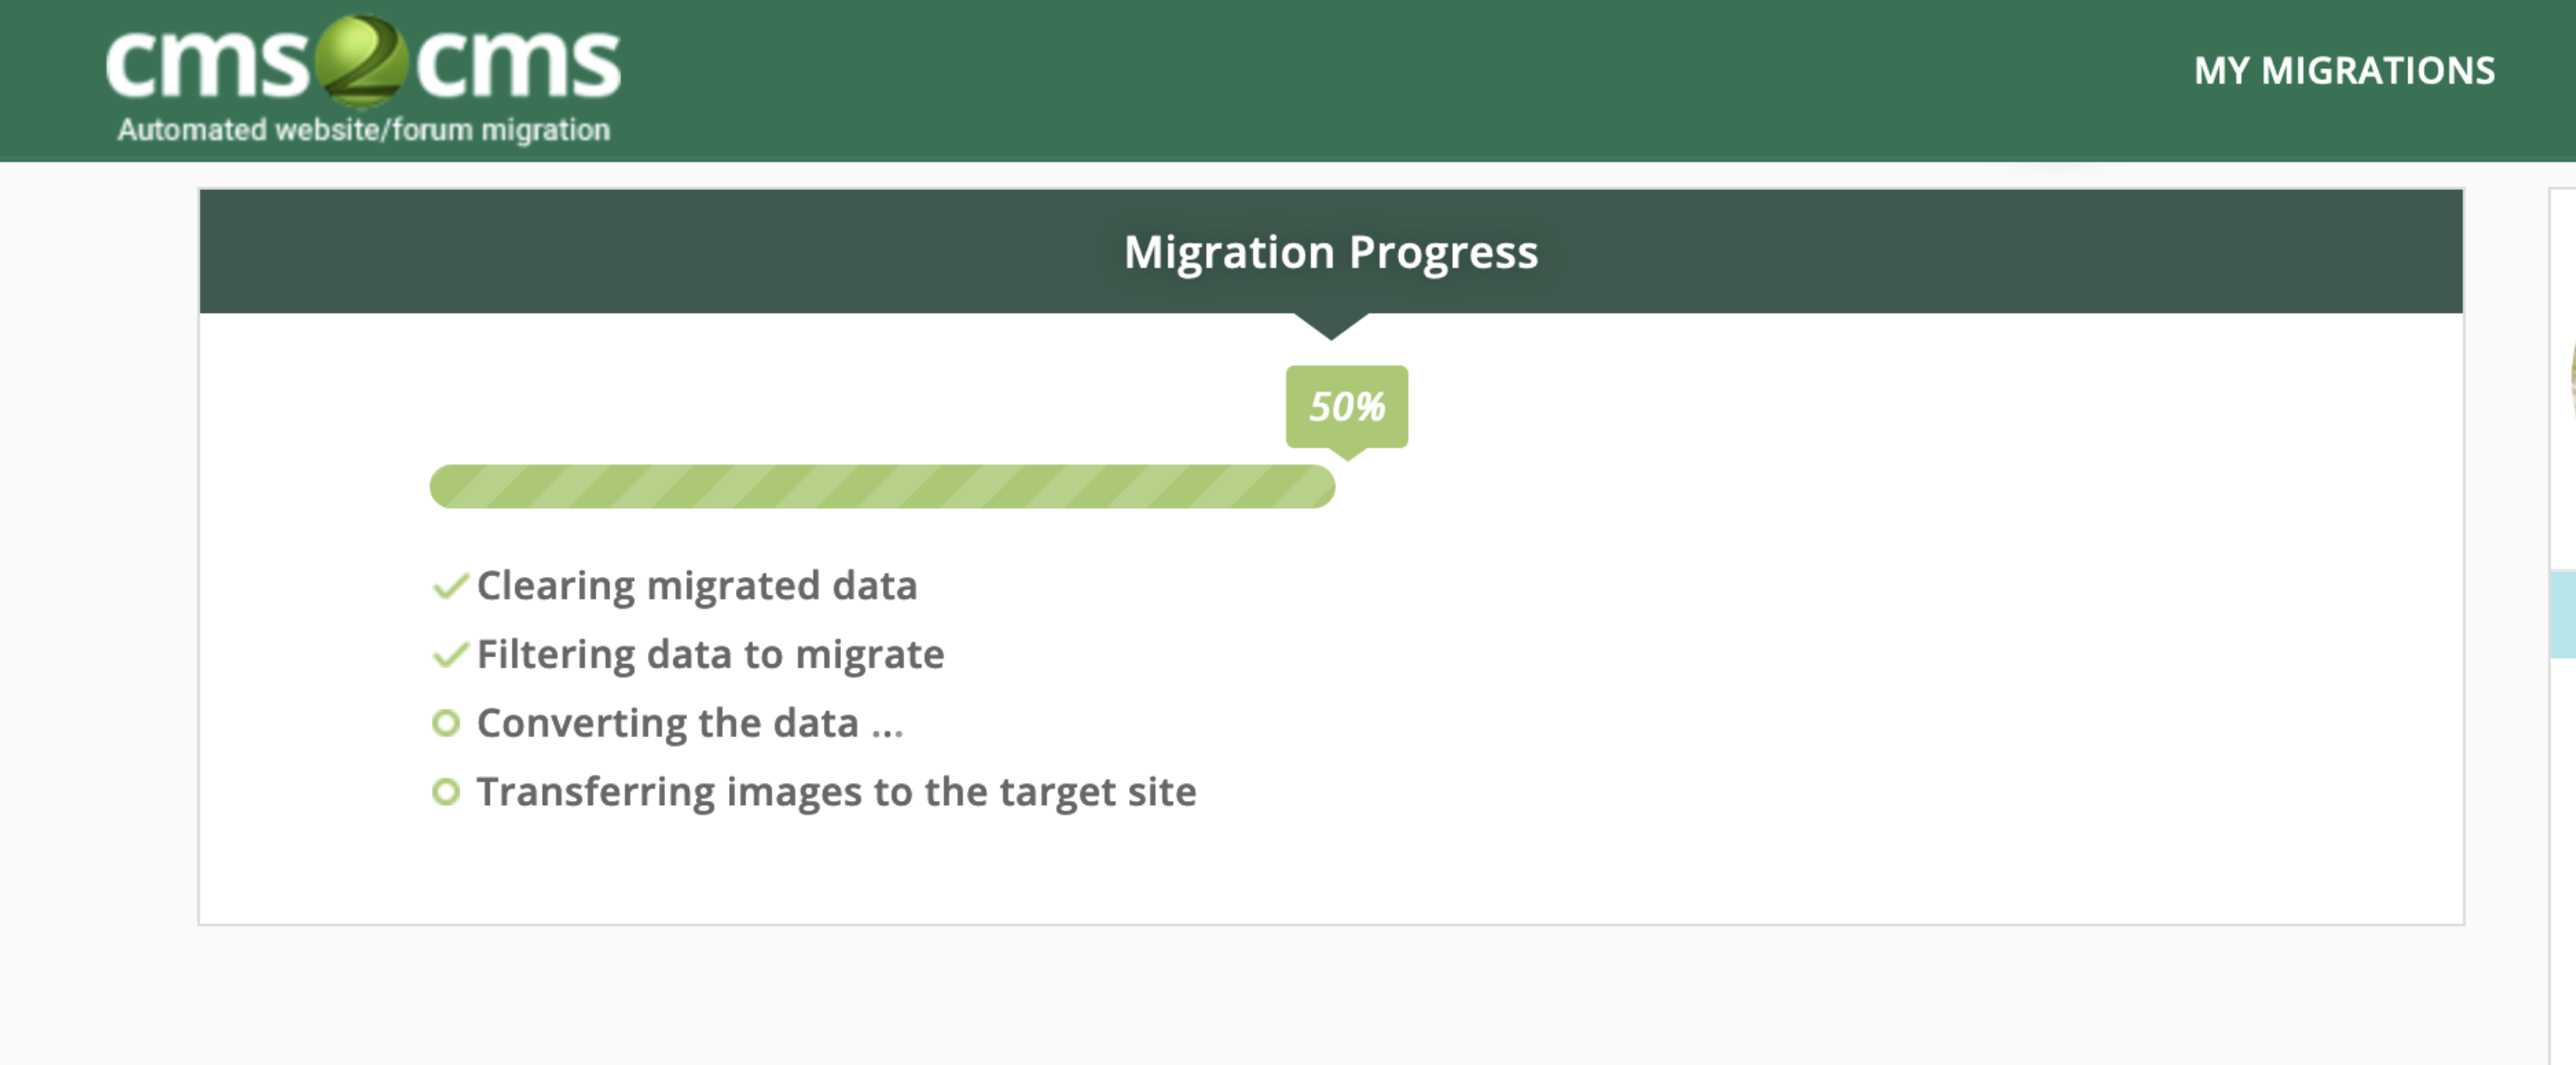
Now that you’ve prepped your blog so that all the words AND images will migrate from Wix to Showit seemlessly, it’s time to start your migration. CMS2CMS gives you a handy dandy “Migration Progress” bar to show you how you’re trucking along. You’ll get to 50% and then likely pause for a bit, so don’t freak out when that happens!
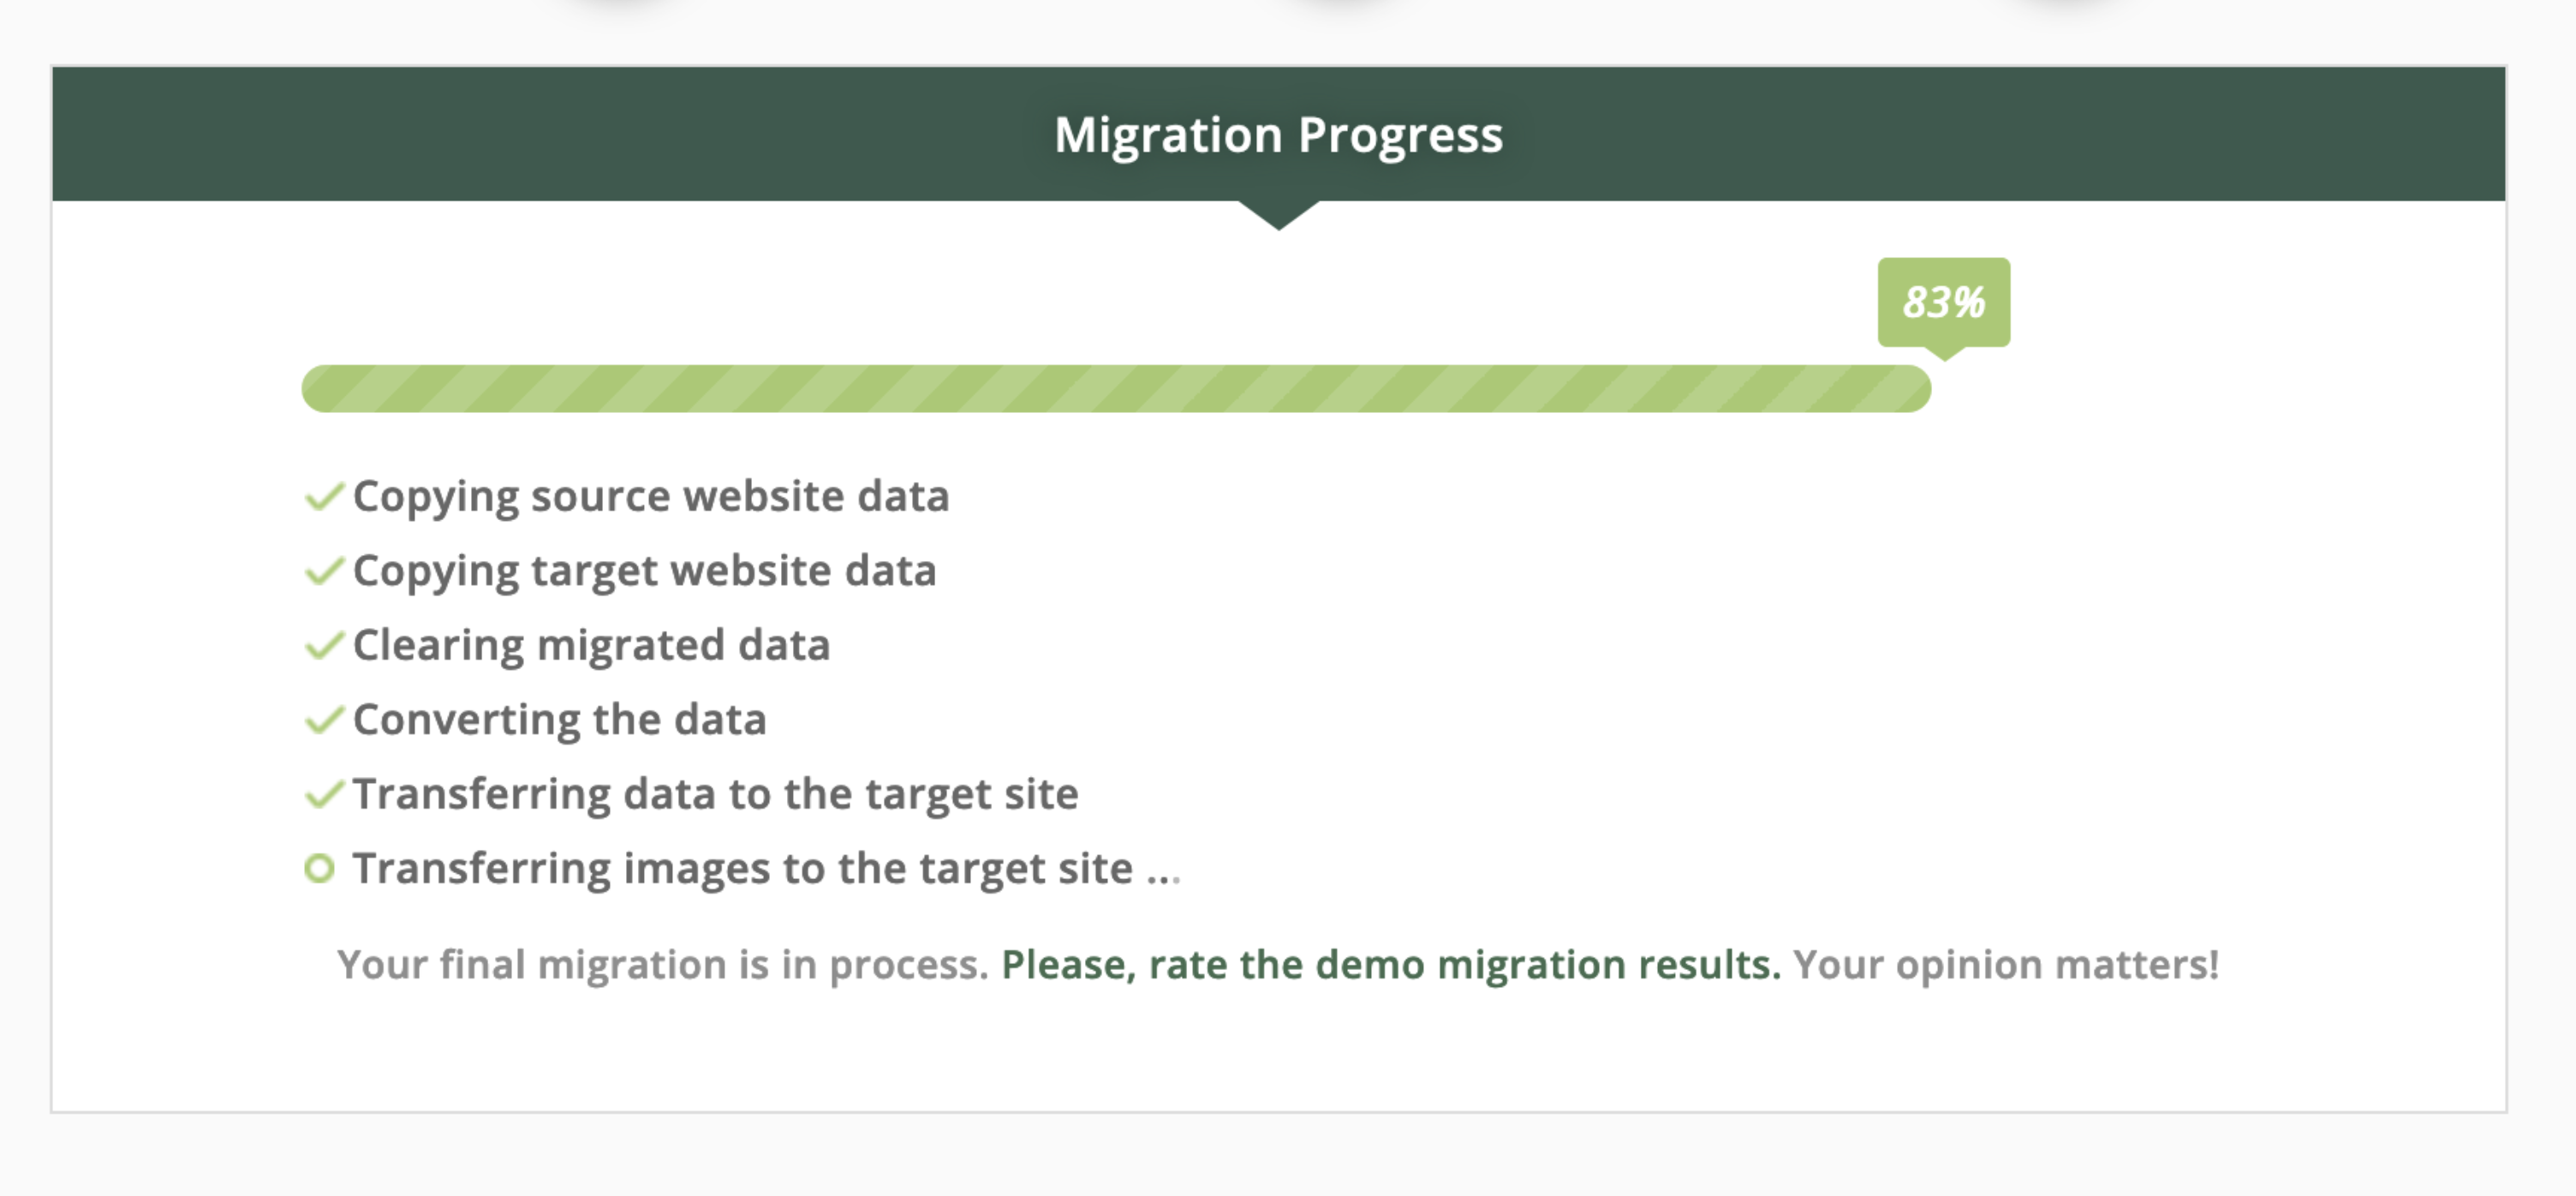
You’ll also hit a snag around the 80-83% mark, when the Migration gets to “Transferring Images to the Target Site.” Since the images are the majority of the overall blog size, this takes the longest. Mine took about 45 minutes for all 166 posts (and 3000-4000 images).
If you’re impatient like me, you can open a separate tab or window to your Showit blog and see the migration progress live! Don’t freak out if images show up with X’s on many of the posts before the migration is complete. That is normal. By the time our migration was done, everything loaded in beautifully!
A Few Quirks:
I figured there would be a few quirks in a migration like Wix blog to Showit blog, considering people said it was impossible. There were honestly surprisingly few of them. Here are the only quirks I noticed:
(1) Emoji’s sometimes translate as “????” – weird, right? But it happens.
(2) Wordrpess labels “Featured Posts” posts as “Sticky”, and moves them out of chronological order to the top of your blog. You probably don’t want this to happen, so turn off the “Sticky” feature in Post Settings.
(3) “Old Wix Blog” Posts imported double. You may recall Wix overhauled it’s entire blog platform in 2019. It’s pretty much what made the Wix to Showit Transfer so hard to begin with. For some reason, all of our blog posts before updating to New Wix Blog copied in double. Not a big deal, but definitely something to double check when your transfer is complete!
That’s it! You can now transfer your Wix blog to Showit! Hopefully this saves you a TON of time as you build your new Showit Site!
Let me know in the comments if this tutorial was helpful for you! And if you’re looking for more of my time-saving tips, check out my free PDF for Wedding Photographers: 6 Easy Steps to Speed Up Your Turnaround Time
Site Design by Square 8 Studio
OUR ADDRESS
3000 S Hulen Street
Suite 124-791
Fort Worth, TX 76109
QUICK LINKS
NEW!
FOUR COURSES TO CHOOSE FROM
Learn More
LOG IN
Enrolled in our Courses?
Square 8 Studio is a Fort Worth College & Sorority Photography company serving college students at TCU and SMU.
Privacy Policy
Terms & Conditions
